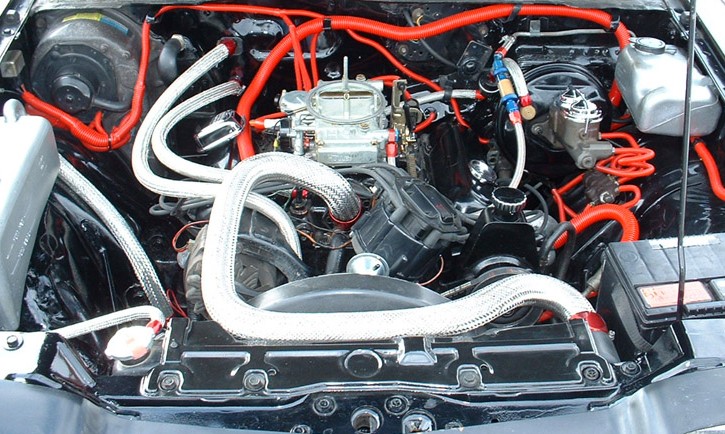
STAGE #9 - 231 V6/TH350 REBUILD
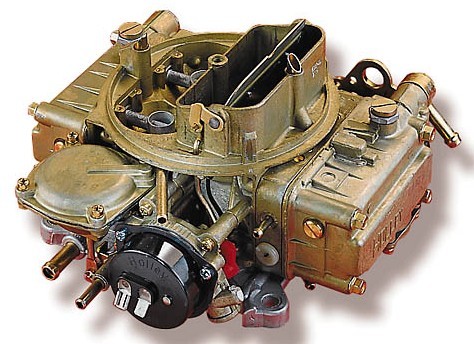
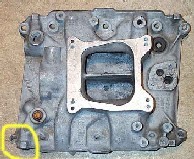
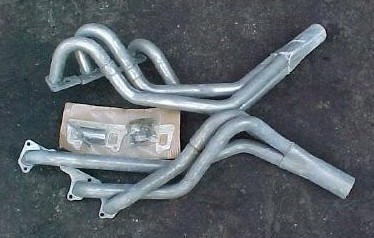
As of August 16, the rebuilt Buick 231 is back in the engine bay along with the newly rebuilt TH350 transmission. There was a problem with the tranny swap that was unexpected as I was told my many that the swap was a direct bolt-on. It is not, at least not for the 1980 model year. The original 4-speed crossmember and tranny mount are very different from the automatic cross member and mount. The automatic cross is the same in shape and design but is significantly smaller in size due to the fact that it must allow clearance for the transmission oil pan and the tailshaft. When the tranny was installed using the 4-speed mount and cross member, the oil pan was cleared without a problem but the tailshaft was resting on the cross member causing the engine/tranny combo to be angled down towards the front of the car, a situation that was unacceptable. The proper parts have finally been procurred with a field trip to Rochester and Syracuse N.Y. and all is well in the world again, with the engine/tranny combo sitting nicely in the engine bay. The headers were an easy installation and slid in quite nicely (it is only a V6 after all) and the Holley 390 carb has been fitted and the car awaits it's rebuilt distributor before it can be fired up for the first time. Details on the camshaft used can be found in this link to my Comp Cams' Cam Card.
STAGE #10 - DUAL EXHAUST
The exhaust system is to be stage #10. The 2 1/2 inch header outlets will be fed into a "Y" pipe leading into a 2 1/2 inch straight pipe along the passenger side of the drive shaft, over the rear axle to a 50-series Delta Flow muffler from Flowmaster in the stock location. 2 - 2 1/4 outlets on the muffler will feed into 2 exhaust tips outletting behind the car on each side of the licence plate (with each tip centred between the licence plate and the bumperettes). The entire assembly is stainless steel with the exhaust tips being polished stainless steel 93-98 Camaro rectangular tips. Not a 'true' dual but a sufficient system for a 231 V6.
STAGE #11 - SWAY BARS/FRONT SUSPENSION
I ordered a beefed up set of Sway Bars made by Britt (1.25" front and 1" rear) and an Original Performance Front End Kit from Performance Suspension Technologies (P.S.T.). The sway bars were a simple install, requiring just time although I needed some spacers for the rear bar but that was accomplished with 1/2" nuts. So far this winter and spring I have just done a number of little things to the car, replaced front calipers and front wheel bearings (inner and outer), flushed the brake lines, replaced front and rear shocks and coil springs, dressed the engine with stainless/chrome with red highlights and installed the 1980 2-piece front air-dam. The front end kit is something I'm not going to tackle at this time, I'll let the pro's do it, then get it all aligned...OK, All done, now the car handles wonderfully, what a diff.
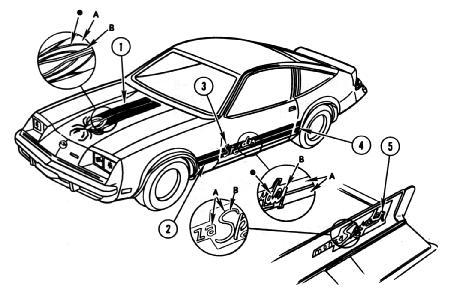
STAGE #12 - SPYDER DECALS
After my contact for aftermarket reproduction Spyder decals turned out to be a stiff and a waste of time, I decided to go with a decal set from Stencils & Stripes. The currency exchange was a killer for me but it was really my only option at this time and I've heard great things about the quality and durability of the decals that Stencils & Stripes makes. I was also extremely fortunate that they had one last set of the colour scheme I needed for the black Spyder, Gold and White with a third colour Orange so my waiting time for the set was approximately ... 2 minutes. Unfortunately anyone else wanting this colour pattern, will have to wait till a future run of decals is made, could be 6 months or longer. I'm also looking into getting a vinyl sign company here in Toronto to make Spyder decal sets, including the 1980 model version, I will keep anyone interested informed when a set is finally produced.
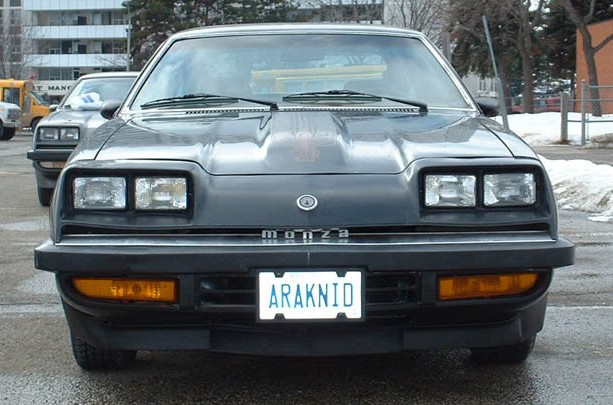
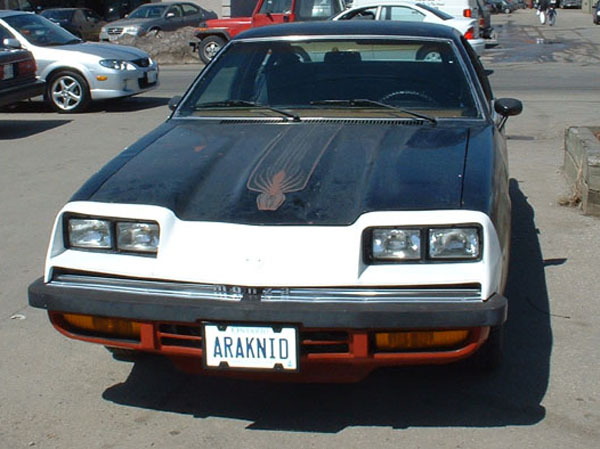
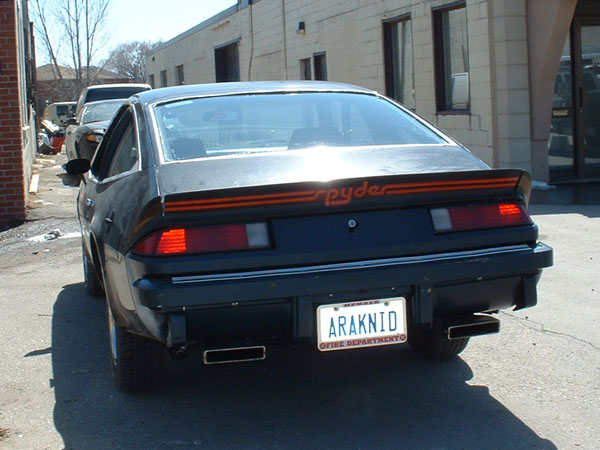
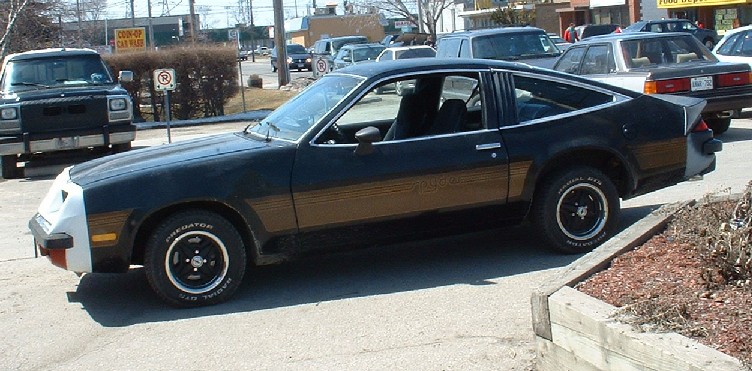
STAGE #13 - FRONT/REAR FACIA REPLACEMENT
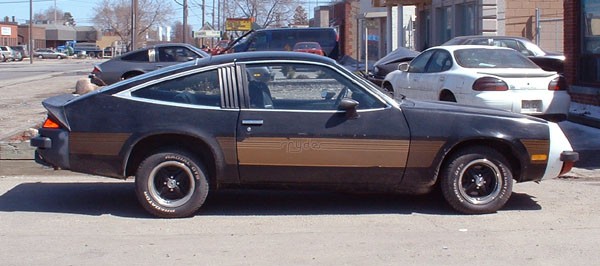
The original eurethane front and rear facia's (both upper and lower on both ends) were pretty rough and were not worth keeping, the repairs to them would have been extensive and not worth the effort or expense. I managed to pick up an entire rear end (metallic dark blue) from 'Vegadan' in the Chicago suburbs and grabbed the upper front clip (white) from Aleck in London, ON. The lower front clip (red) I already had, it was part of a group of extras that came with the black Spyder when I bought it. Replacing these items wasn't all that easy and took a lot of time but I am a rookie at car part replacement, that's my story and I'm sticking to it. It was tough lining up the facia's with the sheet metal, typical GM fit and finish, no 2 of the same parts are identical, not everything fit exactly like the original pieces but I got it close, and with some decent bodywork and a great new paint job, the imperfections will be minimal if at all present. It just takes a lot of patience to get this job done. Unfortunately, it looks rather silly at the moment, red and white front end and a blue rear clip with badly sun-baked and cracked black paint sandwiched in between. Take a look!!!
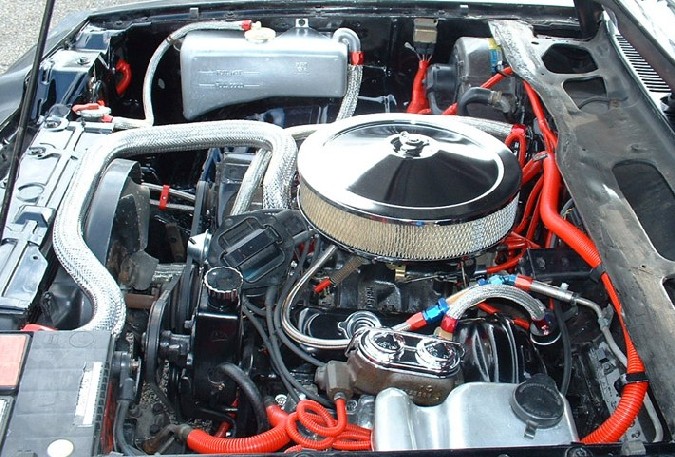
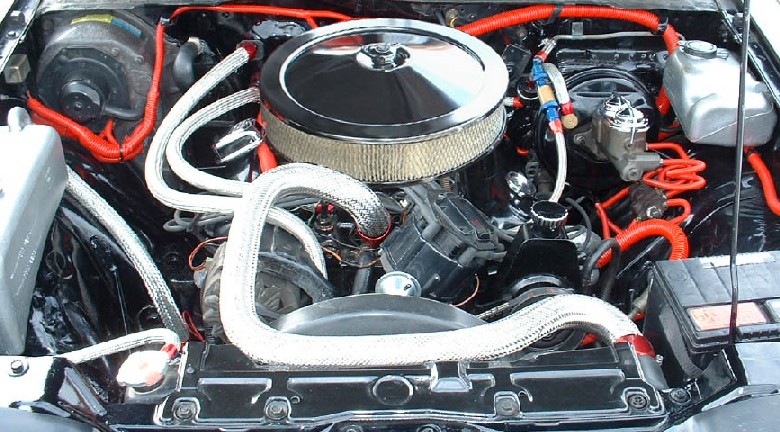
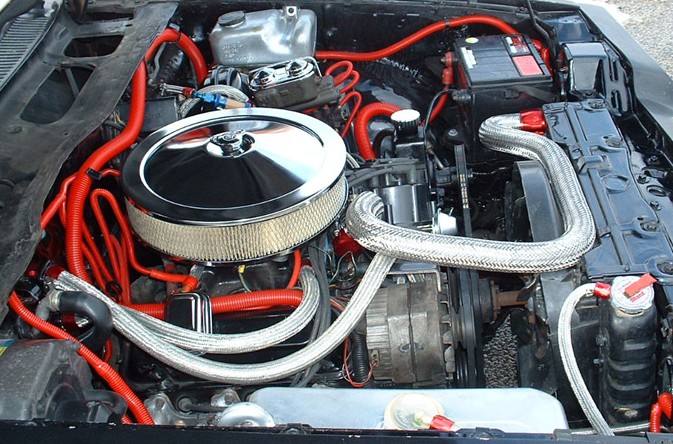
STAGE #14 - ENGINE REINFORCEMENT BRACING
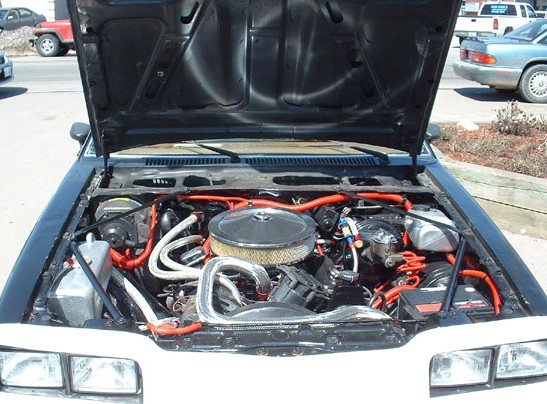
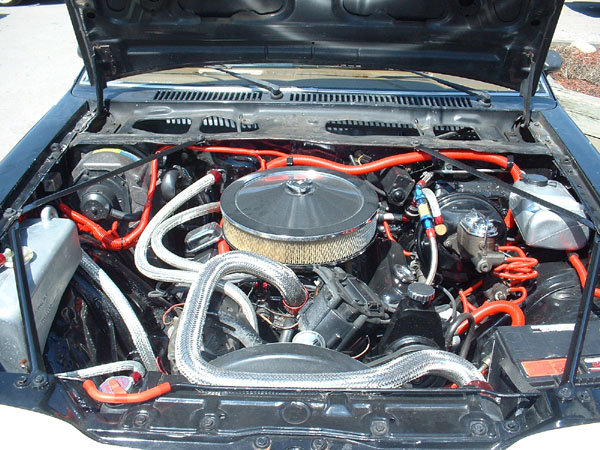
I can't take any credit for this idea, this comes from a fellow 1980 Monza Spyder owner, Dave Knickle in New Brunswick, Canada. He took fender reinforcing braces out of a 1979 Pontiac Trans Am and mounted them in his Monza Spyder. These are not the tubular style braces found in Camaro's but the longer, flat (with raised centre) pieces found only on the Trans Am. They are a direct bolt on from the front valance to the mid section of the fenders and only 2 drlled holes are needed to install another pair to the back cowl of the engine bay. See pics to left for better detail. These should help prevent the front end from rolling and twisting as much during acceleration. Besides, they also look good and make for a more impressive looking engine bay, in my humble opinion.
STAGE #15 - AUDIO SYSTEM
I ordered an AM/FM Cassette stereo deck and 6-CD changer system from Custom Autosound ("USA-5PKG for Chevrolet Monza"). They are the one place I could find that still made the 'old-style' reproduction radio's that would not require me to cut my dashboard to install. It fits in the factory radio slot, dual knobs and all, and the CD changer is a remote system that is a direct plug-in to the radio deck. I also bought a set of 4 JVC speakers (2 for the door panels and 2 for the rear end hatch cover) and I am seriouly considering another set of them for the rear quarter side panels behind the front buckets. This should be enough stereo for such a small car. Unfortunately I have to wait till it is out of the paint shop before I can install it, and that is already taking 2 months longer than it should be!!!
STAGE #16 - BODYWORK & NEW PAINT
May 10, 2003 - The black Spyder went to "California Dave's" paint and bodywork shop in Beeton, Ontario. He will be doing all the sheet metal straightening (no rust work to worry about), stripping all the old paint to metal, prepping and a base/clear coat using a high gloss black. The Spyder decals will go on afterwards, once the paint has cured. He will also be redoing the window trim with the black/chrome combo found on black Monza Spyder's. Finally, my Spyder will look like it belongs on the road, it looks kind of rough at the moment, red and white front end, blue rear and sun baked black paint in between, not much to look at.
July 18, 2003 - Unfortunately it has been almost 10 weeks now (was supposed to be a 2-3 week job) and I still do not have my Spyder back from the paint shop, frustration level is nearing unacceptable limits and I will "Go Postal" if I am forced to wait much longer.
August 13, 2003 - My Spyder is finished, WOOHOO, and I've picked it up, paid for the work and enjoyed driving a brand-new looking Monza Spyder for the day and will enjoy it till the weather goes foul then park it for the winter. The Spyder decals will be applied next week once the paint has had a chance to 'cure' for a week. Damn the car looks great already, Spyder decals will really set it apart from the rest of the cookie-cutter cars out on the road today.
August 27, 2003 - The paint has cured for long enough and my Stencils & Stripes decals are on the car, and what a change, they give the car a whole new identity. Pics to come!
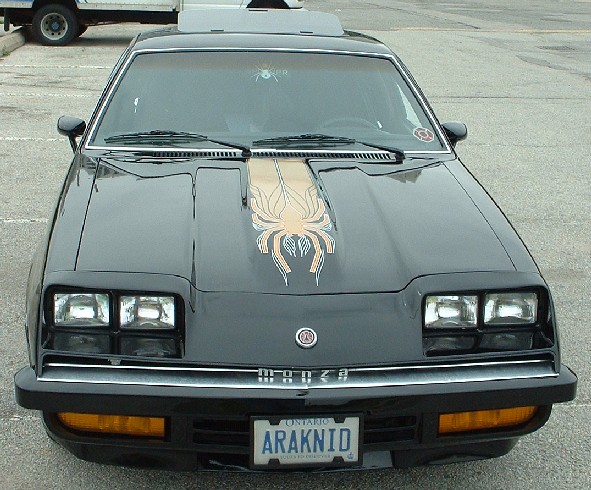
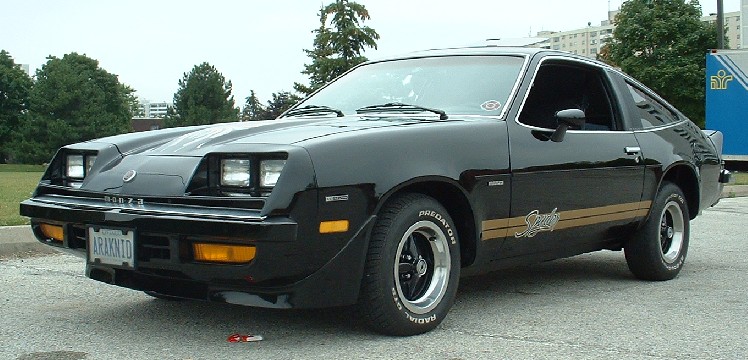
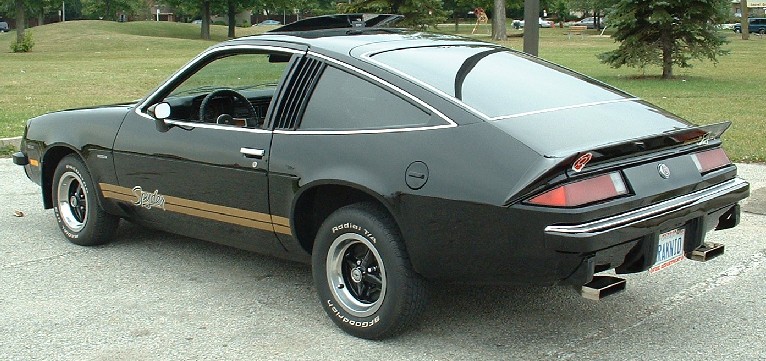
Below are pics taken after the Monza was painted and Spyder decaled, Enjoy !!!

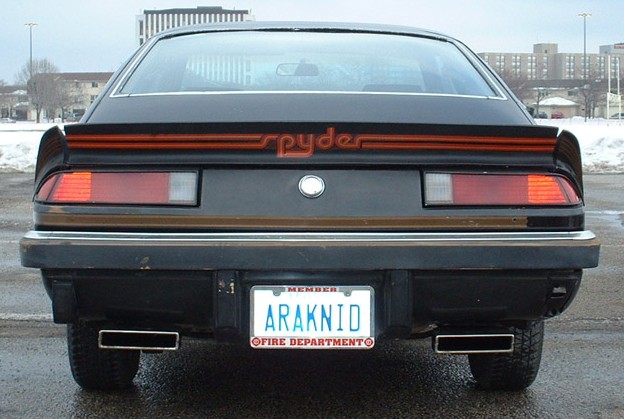


1980 Chevrolet Monza Spyder
1980 Chevrolet Monza Spyder
RETURN TO MAIN PAGE